



Light steel has become one of the most widely used materials for roof framing systems in residential buildings, commercial structures, and public facilities. This material offers several advantages, including relatively lightweight properties, precise dimensions, resistance to termites, and flexibility in shaping according to construction requirements.
However, installing a light steel roof frame must not be done carelessly. Light steel functions as an integrated structural system consisting of roof trusses, battens, bracing members, screws, anchors, and various supporting components. If one component is installed incorrectly or does not comply with the design requirements, the strength and stability of the entire roof structure may be compromised.
Therefore, the installation method for a light steel roof must follow the working drawings, structural calculations, material specifications, and occupational safety requirements. The installation process should also be carried out by construction workers who have sufficient knowledge and experience in assembling light steel roof structures.
So, what are the correct and safe steps for installing a light steel roof frame? The following is the explanation.
Understanding Galvanized and Galvalume Light Steel
Before discussing the installation process, it is important to understand the types of light steel materials available on the market. Based on their protective coating, light steel products are generally divided into two main categories: galvanized and galvalume.
Galvanized light steel is steel protected with a zinc coating. This layer helps protect the base steel from rust and corrosion. Zinc also provides cathodic protection to areas where the steel surface has been scratched or exposed. In this process, the zinc coating corrodes first, helping to protect the steel underneath.
Meanwhile, galvalume light steel uses a coating containing a combination of aluminum and zinc. Zinc-aluminum-based coatings are widely used in construction products because they are designed to provide corrosion resistance.
In the Indonesian market, galvalume light steel products are more commonly found. However, this does not mean galvanized light steel cannot be used for roof framing systems. Both materials have their own characteristics and advantages.
Material selection should consider the quality of the base steel, material thickness, type and thickness of protective coating, environmental conditions, structural design, and roof covering loads. Do not choose light steel only based on the lowest price because the roof frame is an essential part of a building, and its specifications and quality must be reliable and accountable.
Why Must Light Steel Installation Be Properly Planned?
Although light steel has a lightweight characteristic, the roof framing system still needs to withstand various loads. These loads do not only come from the roof covering but may also include wind pressure, rainwater, roof accessories, ceilings, certain installations, and worker loads during construction.
Each structural component has a function in transferring loads toward the supporting points and the main building structure. Therefore, the spacing between trusses, arrangement of bracing members, number of screws, connection details, and anchor positions must not be determined based only on assumptions.
The roof frame design for one building cannot always be directly applied to another building. Building span, roof shape, roof slope, type of roof covering, project location, and supporting structure conditions may differ.
With proper planning, roof loads can be distributed more evenly. Proper design also helps reduce the risk of frame deflection, shifting, wind uplift, or damage to connection points.
Preparation Before Installing a Light Steel Roof
Successful installation is not only determined when the roof frame begins to be assembled. The preparation stage also has a significant impact on the quality and safety of the final result.
Inspecting the Building Structure Condition
The first step is inspecting the structure that will support the roof frame, such as ring beams and columns. Make sure the supporting structure has been completed, has adequate strength, and is in good condition.
The surface of the ring beam must be checked to ensure proper elevation and sufficient flatness. Uneven supports may cause roof trusses to become misaligned, making the alignment process and roof covering installation more difficult.
The length, width, and diagonal measurements of the building should also be checked. Diagonal measurements help ensure that the building layout matches the working drawings.
Preparing Working Drawings and Structural Calculations
Working drawings must become the main reference during installation. These documents should at least include roof shape, building span, roof slope, roof truss positions and spacing, bracing arrangement, batten positions, and connection details.
The profile size and thickness of the light steel must also be adjusted according to structural calculations. Avoid determining truss spacing based only on workers’ habits because every building may have different structural requirements.
If the roof shape is complex or has a long span, the roof frame design should be reviewed by a competent structural professional.
Selecting Materials According to Specifications
Ensure that all received materials comply with the specifications stated in the drawings and project documents. Check the profile type, length, cross-sectional dimensions, base steel thickness, coating type, and physical condition of the products.
Materials must not have excessive bending, dents, deformation, or coating damage. Before installation, light steel should be stored in a dry area, kept away from direct contact with the ground, and protected from standing water.
Besides channels used for roof trusses, prepare battens, brackets, anchors, special light steel screws, and bracing components according to project requirements.
Preparing Work Equipment
The tools commonly required for installing a light steel roof frame include a measuring tape, spirit level, measuring string, marking tools, light steel cutting tools, drill or screw gun, pliers, ladders, and lifting equipment.
Use appropriate cutting tools to ensure clean cuts and prevent excessive damage to the protective coating. Materials should not be hammered or forced in a way that changes the original shape of the profile.
Preparing Safety Equipment
Roof construction work involves a high risk of falling. Workers must use project helmets, gloves, safety shoes, and appropriate fall protection systems.
The use of full body harnesses, safety ropes, and properly installed anchor points is essential when working at height. Depending on the working conditions, additional protection such as guardrails or safety nets may also be required.
The work area must be kept clean, dry, and free from materials that may cause workers to slip or trip. Installation should be stopped during rain, strong winds, or other weather conditions that make the work unsafe.
Steps for Installing a Light Steel Roof Frame
After all preparations have been completed, the installation process can be carried out step by step according to the working drawings and structural calculations.
1. Carry Out Re-measurement
Before cutting materials or assembling roof trusses, conduct another measurement check at the project site. Verify the building span, width, roof ridge height, roof slope, overhang, and support point positions.
Do not rely solely on measurements shown in drawings if the actual site conditions have not been verified. Even small differences in measurements can affect component lengths, connection angles, and frame positioning.
Mark the installation locations of each roof truss on the ring beam consistently so that the spacing matches the planned design.
2. Cutting Light Steel Components
Cut the light steel channels according to the dimensions specified in the working drawings. Each component should be labeled or coded to prevent confusion during assembly.
Cutting must be performed using tools recommended for light steel materials. Avoid cutting methods that generate excessive heat or sparks because they may damage the protective coating around the cut area.
After cutting, recheck the length and angle of each component. Dimensional errors are easier to correct before the components are assembled into roof trusses.
3. Assembling Roof Trusses on a Flat Surface
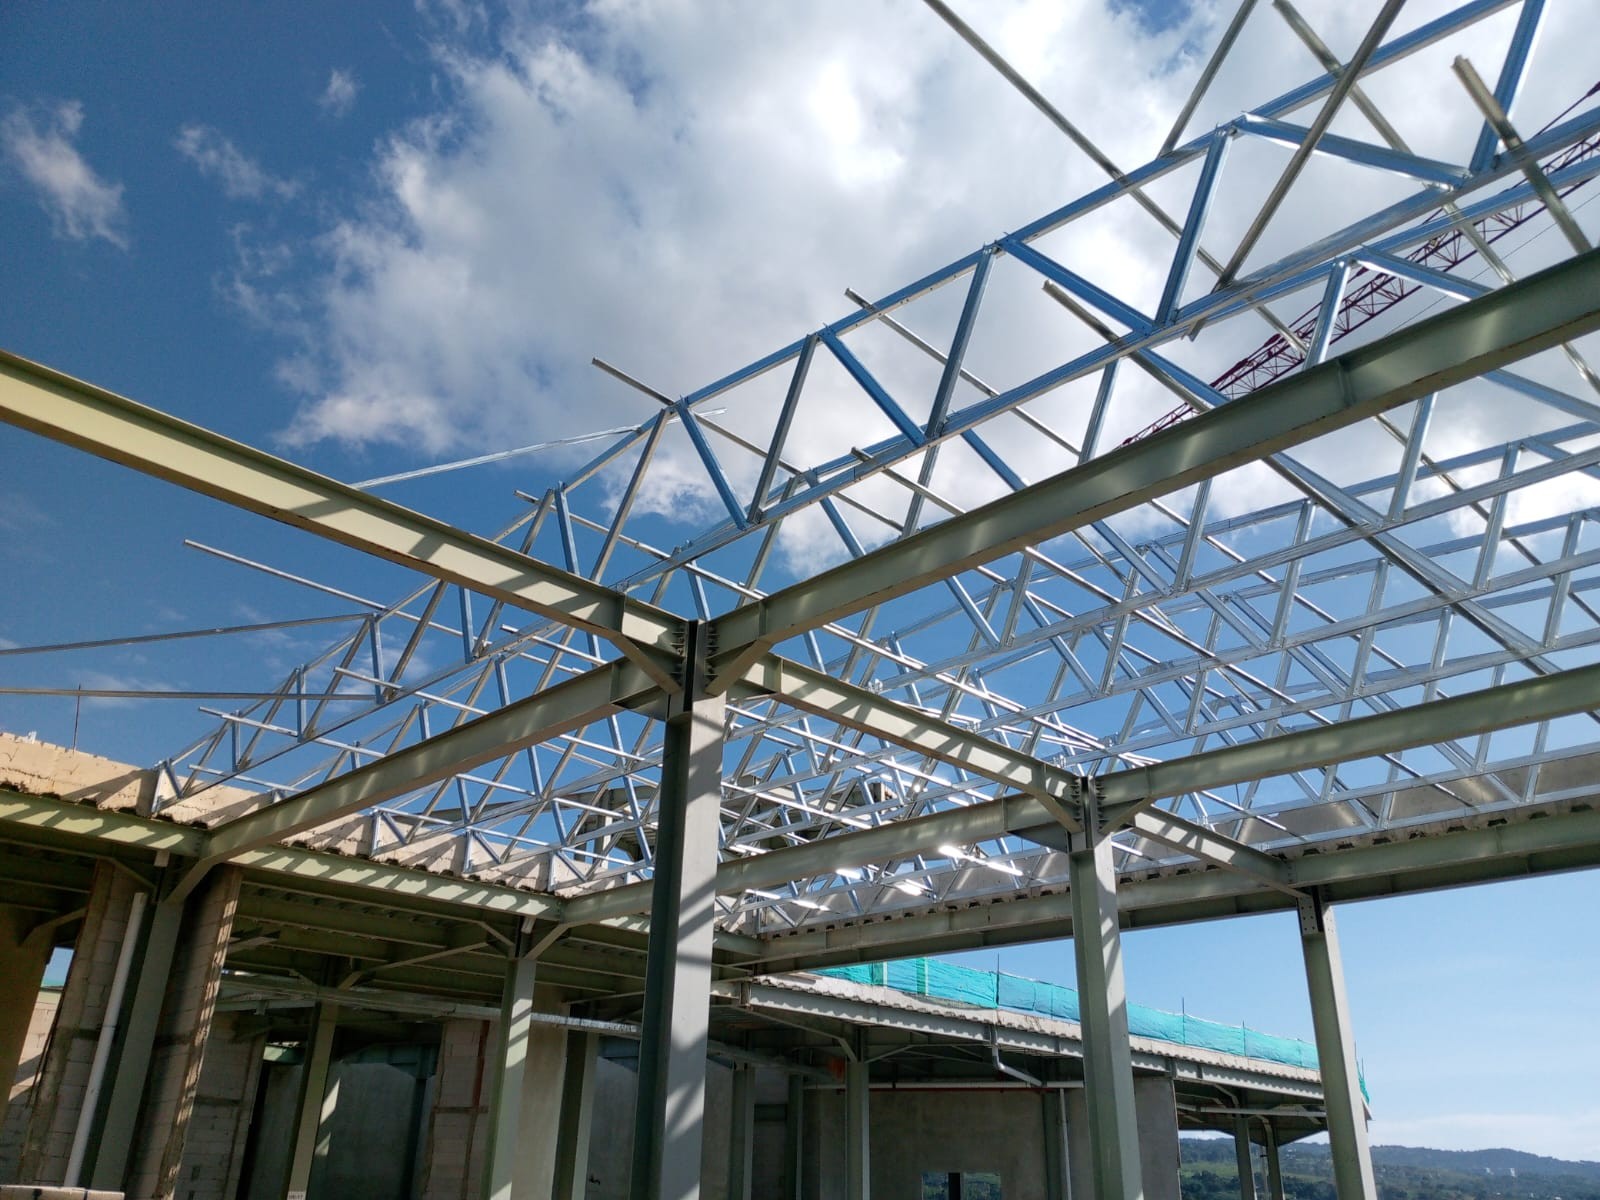
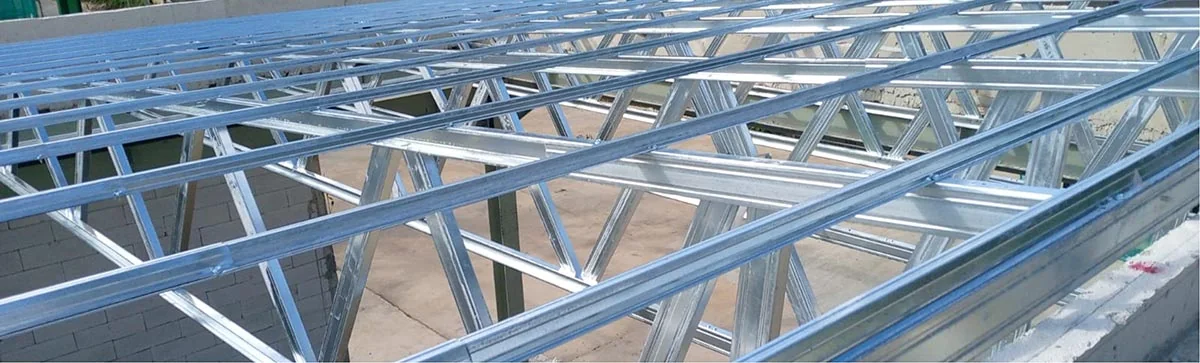
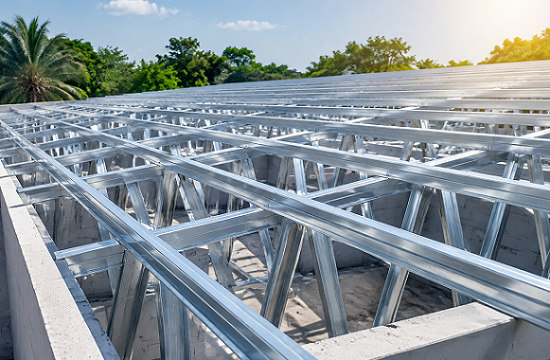
Roof truss assembly should be carried out on a flat and sufficiently spacious surface. Arrange the top chord, bottom chord, and web members according to the pattern and dimensions shown in the working drawings.
The top chord is the upper part of the roof truss that follows the roof slope. The bottom chord is located at the lower section, while web members are the connecting elements between them that help distribute and transfer loads.
Check the overall dimensions, angles, and diagonal measurements of the frame before fully tightening all screws. Roof trusses assembled on uneven surfaces may experience deformation or become unsymmetrical.
Use special light steel screws with the quantity and positions specified in the connection details. Screws must be installed straight and firmly, but they should not be tightened excessively until the screw head damages or tears the surface of the profile.
4. Installing Brackets and Anchors
Brackets and anchors function as connectors between roof trusses and the ring beam or main building structure. Their positions must follow the markings prepared earlier.
Use anchor types suitable for the supporting structure conditions. Anchors must be properly embedded or secured so that the roof frame does not easily shift or lift when exposed to wind pressure.
Do not rely only on the weight of the roof frame to maintain its position. Even after the frame and roof covering have been installed, the roof system must still be mechanically connected to the building structure.
5. Lifting and Installing the First Roof Truss
The assembled roof truss is then lifted onto the building. The lifting process must be performed carefully to prevent the frame from bending or changing shape.
The number of workers and lifting equipment should be adjusted according to the size and span of the roof truss. Avoid lifting long trusses from only one point because this may cause deformation of the profile.
Install the first roof truss according to the marked position. Ensure that the frame is upright, properly aligned, and positioned at the correct elevation. Use a spirit level and measuring tools to check the frame position.
Once properly positioned, install temporary bracing. These supports are necessary to maintain stability before the remaining roof trusses are installed.
6. Installing the Next Roof Trusses
Install the following roof trusses gradually according to the spacing specified in the working drawings. Each frame must be checked for alignment, vertical position, ridge position, and elevation before being permanently secured.
Use measuring strings as a guide to ensure that the ridge line and sides of the roof trusses remain aligned. Do not continue installation if any frame is tilted or does not match the planned position.
Errors in one roof truss can affect batten positioning and result in an uneven roof covering surface. Therefore, inspections must be performed at every stage, not only after the entire roof frame has been completed.
7. Installing Bracing or Reinforcement Members
Bracing is an important component that helps maintain roof frame stability against lateral movement. This component must not be removed even if the roof trusses appear strong and stable.
Install diagonal bracing, upper bracing, lower bracing, and other reinforcement components according to the working drawings. The quantity and position may vary depending on the roof shape, building span, and structural design.
Ensure that all bracing components are properly tightened, straight, and securely connected to the roof frame. Temporary supports may only be removed after permanent bracing has been installed and the structure has achieved stability.
8. Installing Light Steel Battens
After the roof trusses and bracing have been installed, the next step is installing the battens. These components function as supports and attachment points for the roof covering.
The spacing between battens must be adjusted according to the size and installation system of the roof covering. Metal roofing, concrete tiles, ceramic tiles, and sheet roof coverings each have different support spacing requirements.
Do not use the same batten spacing for every type of roof. Follow the technical specifications and recommendations from the manufacturer of the selected roof covering.
Ensure that the battens are installed parallel and maintain consistent elevation. Uneven or wavy battens may make roof covering installation difficult and increase the risk of gaps or leaks.
9. Installing the Roof Covering
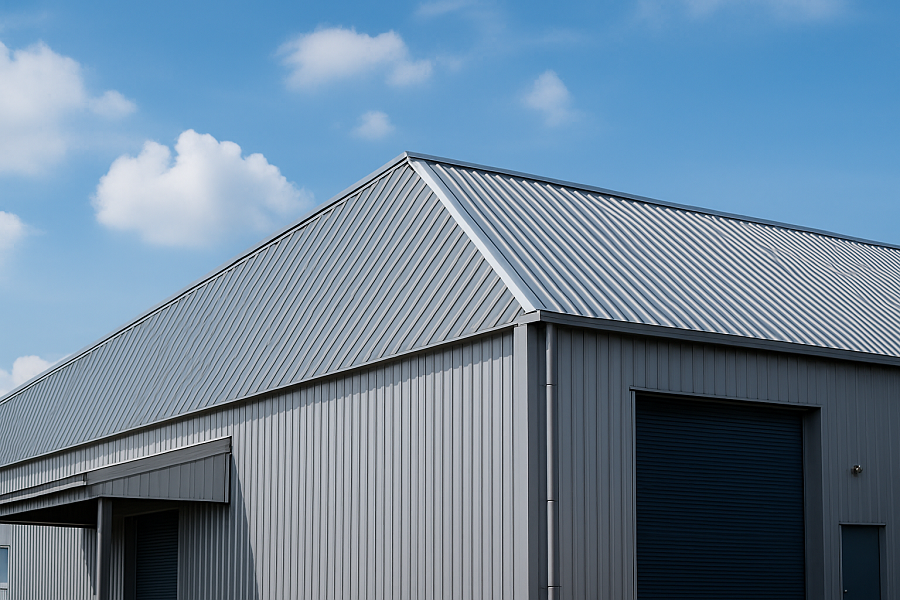
The roof covering should only be installed after the entire roof frame has been confirmed to be stable. The installation process must follow the recommended installation direction, overlap distance, fastener positions, and minimum roof slope requirements provided by the manufacturer.
Pay close attention to screw installation points because incorrect positioning may cause leaks or damage the roof sheets. If screws with washers are used, make sure the washers properly seal the holes without being tightened excessively.
Workers must also avoid stepping carelessly on the roof covering. Use designated walking paths and safe access points to prevent the roof material from becoming dented, cracked, or displaced.
10. Installing Ridge Caps, Gutters, and Flashing
After the main roof surfaces have been installed, continue with the installation of ridge caps, gutters, flashing, fascia boards, and other accessories.
Special attention should be given to areas where two roof surfaces meet, connections between the roof and walls, valleys, ventilation openings, and installation pathways. These areas are more vulnerable to water leakage if they are not properly sealed.
Ensure that each component overlaps correctly and that appropriate accessories are used according to the type of roof covering installed.
11. Performing the Final Inspection
The final stage is inspecting the entire installation before the project is considered complete. The inspection should be carried out by the contractor or construction personnel responsible for the project.
Check the vertical alignment and straightness of all roof trusses, compliance with roof frame spacing requirements, and the strength of bracket and anchor connections. The number, position, and condition of screws must also be verified according to the installation details.
Next, inspect the condition of bracing, reinforcement members, batten spacing, and alignment, as well as any profiles that may have dents or deformation.
For the roof covering, ensure that all joints are properly installed and that there are no gaps around ridge caps, gutters, flashing, or other accessories.
Roof intersections and connections between the roof and walls must also be inspected to identify potential leakage points. If loose connections, tilted frames, damaged profiles, or incorrect component spacing are found, repairs must be completed before the installation is considered finished.
Common Mistakes to Avoid
One of the most common mistakes is ignoring structural calculations. Selecting profiles, material thicknesses, or roof truss spacing based only on assumptions may result in a roof frame capacity that does not match the actual loads it must support.
Reducing the number of screws should also be avoided. Although this may appear to save time or cost, it can weaken the connections. Always use the number of screws specified in the design details and ensure each screw is properly installed.
Bracing is not an optional component that can be removed. Without an adequate reinforcement system, the roof frame becomes more vulnerable to movement and loss of stability when subjected to loads or lateral forces.
Another common mistake is using materials that do not match the working drawings. Profiles and material thicknesses must not be replaced or mixed without proper calculations and approval from the party responsible for the structural design.
An uneven or misaligned roof frame can affect the entire installation process. Tilted roof trusses may cause battens and roof coverings to become uneven. Therefore, the alignment and vertical position of each roof truss must be checked before continuing the installation.
In addition to technical mistakes, working without proper safety equipment creates serious risks. Incorrect installation can damage the building, while safety negligence may cause severe injuries. All workers must use appropriate protective equipment and understand safe working procedures at height.
Use High-Quality Galvanized Light Steel from FUMIRA
To meet roof framing material requirements, you can consider FUMIRATRUSS, a galvanized light steel product from FUMIRA.
FUMIRATRUSS is manufactured using high-quality zinc-coated steel material and is available in two profile types: C Channel and Batten. The product is manufactured to meet building construction requirements in Indonesia and has obtained SNI 2053 certification.
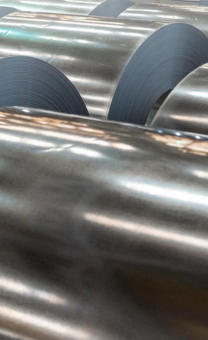
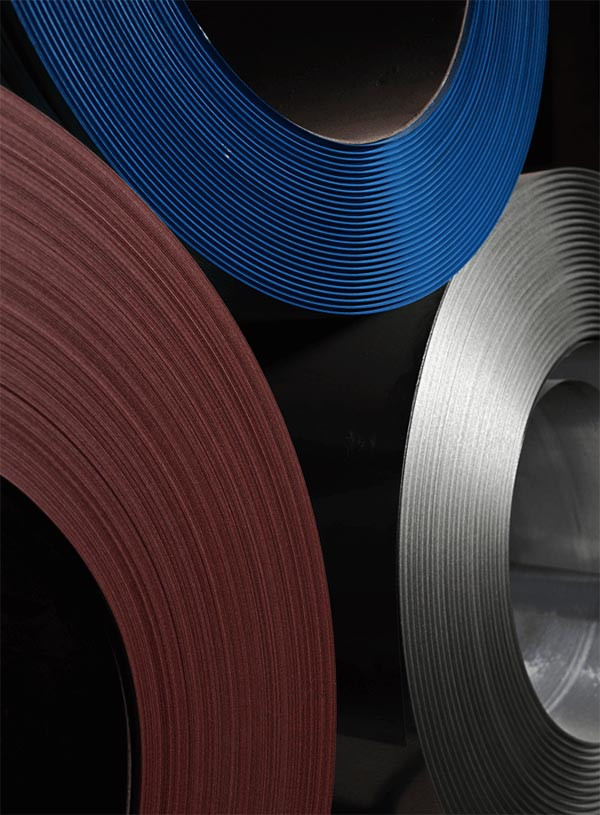
FUMIRATRUSS materials offer characteristics such as strength, termite resistance, precision, and ease of forming according to construction needs. FUMIRA also operates an integrated production process, starting from steel coils and sheets to the forming of finished products for various building applications.
Make sure that the selected light steel type and specifications are adjusted according to the working drawings and structural calculations of your project.
For more information about FUMIRATRUSS and other high-quality galvanized steel products, visit:
For further information or product consultation, please contact us via WhatsApp.